Adobe Illustrator is a powerhouse in the world of graphic design, particularly when it comes to creating stunning and professional logos. This vector-based software is favored by designers for its precision, flexibility, and vast array of tools. Whether you are a seasoned designer or just starting out, mastering Adobe Illustrator can elevate your logo design skills to new heights. In this comprehensive guide, we will explore essential tips and tricks for logo design using Adobe Illustrator, ensuring that you can create eye-catching and effective logos that stand out in a competitive market.
Understanding Vector Graphics
Before diving into the tips and tricks, it is essential to understand why vector graphics, which Adobe Illustrator specializes in, are crucial for logo design. Unlike raster graphics, which are made up of pixels, vector graphics are composed of paths defined by mathematical equations. This means they can be scaled infinitely without losing quality, making them perfect for logos that need to be displayed across various mediums and sizes.
Setting Up Your Workspace

A well-organized workspace is the foundation of efficient design work. Adobe Illustrator allows you to customize your workspace to suit your needs. You can arrange panels, tools, and menus in a way that enhances your workflow. Here are some tips to get started:
- Custom Panels: Create custom panels for the tools you use most frequently. This reduces the time spent searching for tools and increases productivity.
- Templates: Utilize templates for common logo sizes and formats. This ensures consistency and saves time when starting new projects.
- Keyboard Shortcuts: Familiarize yourself with keyboard shortcuts. They can significantly speed up your design process.
Utilizing the Pen Tool
The Pen Tool is arguably the most powerful tool in Adobe Illustrator for creating precise and clean paths. Mastering this tool is essential for logo design. Here are some tips to make the most of the Pen Tool:
- Practice Makes Perfect: Spend time practicing with the Pen Tool to gain confidence in creating smooth curves and straight lines.
- Anchor Points: Use anchor points strategically to create the desired shapes. Fewer points often result in smoother lines.
- Adjust Handles: Learn to adjust the handles of anchor points to refine curves and angles precisely.
Working with Shapes
Shapes are the building blocks of many logos. Adobe Illustrator offers a variety of shape tools that can be customized and combined to create complex designs. Here are some tips for working with shapes:
- Shape Builder Tool: Use the Shape Builder Tool to merge, subtract, and divide shapes. This tool is particularly useful for creating intricate logo designs.
- Pathfinder Panel: The Pathfinder Panel offers a range of options for combining shapes in various ways. Experiment with different modes to achieve unique designs.
- Transform Tools: Utilize the Transform tools to resize, rotate, and distort shapes accurately.
Typography in Logo Design
Typography plays a crucial role in logo design. The right font can convey the brand’s personality and message effectively. Adobe Illustrator provides powerful tools for working with text. Here are some tips for incorporating typography into your logos:
- Font Selection: Choose fonts that align with the brand’s identity. Consider readability and scalability when selecting fonts.
- Text on Path: Use the Type on a Path Tool to create text that follows a specific path or shape. This is useful for circular or curved logos.
- Kerning and Tracking: Adjust kerning and tracking to improve the spacing between letters. Proper spacing can enhance the overall appearance of the logo.
Color and Gradients
Color is a critical element in logo design. Adobe Illustrator offers extensive color options and gradient tools to create visually appealing logos. Here are some tips for using color effectively:
- Color Theory: Understand basic color theory to choose color schemes that evoke the desired emotions and perceptions.
- Swatches: Create and save custom swatches for consistency. This ensures that your color choices remain uniform across different projects.
- Gradients: Use gradients to add depth and dimension to your logos. Experiment with linear and radial gradients to find the best fit for your design.
Using Layers
Organizing your design elements using layers is essential for maintaining a structured and manageable project. Adobe Illustrator’s Layers panel allows you to control the visibility and stacking order of objects. Here are some tips for working with layers:
- Naming Layers: Name your layers descriptively to keep track of different elements. This is especially useful for complex designs.
- Locking and Hiding Layers: Lock or hide layers to prevent accidental edits and focus on specific parts of your design.
- Grouping: Group related elements to move and transform them as a single unit. This simplifies the design process and maintains consistency.
Advanced Techniques
For those looking to take their logo design skills to the next level, Adobe Illustrator offers several advanced techniques and tools. Here are some tips to explore:
- Clipping Masks: Use clipping masks to create intricate designs by masking parts of your artwork. This is useful for creating logos with complex patterns.
- Blending Modes: Experiment with blending modes to achieve unique color and texture effects. This can add a creative touch to your logos.
- 3D Effects: Utilize Illustrator’s 3D effects to create logos with depth and perspective. This can make your designs stand out in a crowded market.
Saving and Exporting Your Logo
Once your logo design is complete, it is essential to save and export it correctly. Adobe Illustrator provides various options to ensure your logo looks great across different platforms. Here are some tips for saving and exporting:
- File Formats: Save your logo in multiple formats, such as AI, EPS, and PDF, for different purposes. These formats preserve the vector quality.
- Exporting for Web: Use the Export for Screens feature to save web-friendly versions of your logo in formats like PNG and SVG.
- Resolution: Ensure that your logo is exported at the appropriate resolution for its intended use. High-resolution files are essential for print.
Practical Application: Creating a Logo Step-by-Step

To put these tips and tricks into practice, let’s walk through the process of creating a simple logo step-by-step:
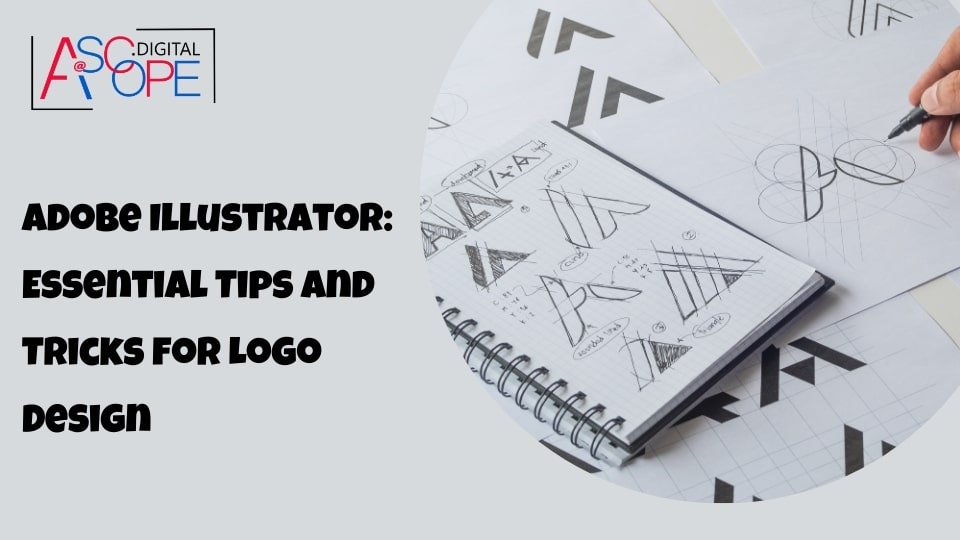
- Conceptualization: Start by sketching your ideas on paper. This helps in visualizing the concept before moving to Illustrator.
- Setting Up: Open Adobe Illustrator and create a new document. Set the artboard size according to your needs.
- Creating Shapes: Use the shape tools to create the basic structure of your logo. Combine and modify shapes using the Shape Builder Tool and Pathfinder Panel.
- Adding Typography: Choose a suitable font and add text to your logo. Adjust kerning, tracking, and other typographic elements.
- Applying Color: Select a color scheme and apply colors to your shapes and text. Use gradients if needed to add depth.
- Refining: Fine-tune your design by adjusting anchor points, handles, and other elements. Ensure that the logo is balanced and visually appealing.
- Saving and Exporting: Save your logo in multiple formats and export it for different uses. Make sure to check the quality and resolution of the exported files.
Troubleshooting Common Issues
Even with the best tools and techniques, you may encounter challenges during the logo design process. Here are some common issues and their solutions:
- Jagged Edges: If your logo has jagged edges, check the anchor points and handles. Smooth them out for cleaner lines.
- Color Inconsistency: Ensure that you are using consistent color profiles. Create and use custom swatches to maintain uniformity.
- Typography Issues: If your text appears distorted or unreadable, adjust the font size, kerning, and tracking. Choose a font that scales well.
Conclusion
Adobe Illustrator is an indispensable tool for logo design, offering a wealth of features and capabilities to bring your creative visions to life. By mastering the tips and tricks outlined in this guide, you can create logos that are not only visually stunning but also effective in representing your brand. Remember, practice is key to becoming proficient with Illustrator. Keep experimenting with different tools and techniques to discover what works best for you.
Incorporating these strategies into your design process can lead to the creation of compelling logos that attract attention and convey the desired message to your audience. Thus, improving traffic and sales for your website. Read more on the other reasons why your website isn’t getting traffic. By understanding and leveraging the full potential of Adobe Illustrator, you can set yourself apart as a skilled logo designer and create designs that leave a lasting impact


